Installing a new HVAC system is a significant investment, and knowing what to expect can make the process much smoother. Whether you’re upgrading an outdated unit or adding an entirely new system, the installation process is straightforward when handled by professionals. In this blog, we’ll provide a simple breakdown of what happens during the installation of HVAC systems, so you’re ready when the team arrives.
1. Initial Preparation and Assessment
Before installation day, technicians will assess your property, inspect any existing ductwork, and take note of any special requirements for your new system. This visit is a great opportunity to ask any questions you have about the installation process, system maintenance, or energy efficiency features.
On the day of installation, the team will review the plan with you, confirm thermostat placement, and go over any specific preferences you have for vents or registers. It’s a good idea to clear the area around the HVAC unit and ensure easy access to any spaces they’ll need to work in, like attics or basements.
2. Removing the Old System
If you’re replacing an old system, the first step is safely removing it. The technicians will disconnect and haul away your old unit, including any related equipment like the furnace, air conditioner, or heat pump. They’ll take care of the disposal as well, so you won’t have to worry about leftover parts or mess.
3. Ductwork Inspection and Modifications
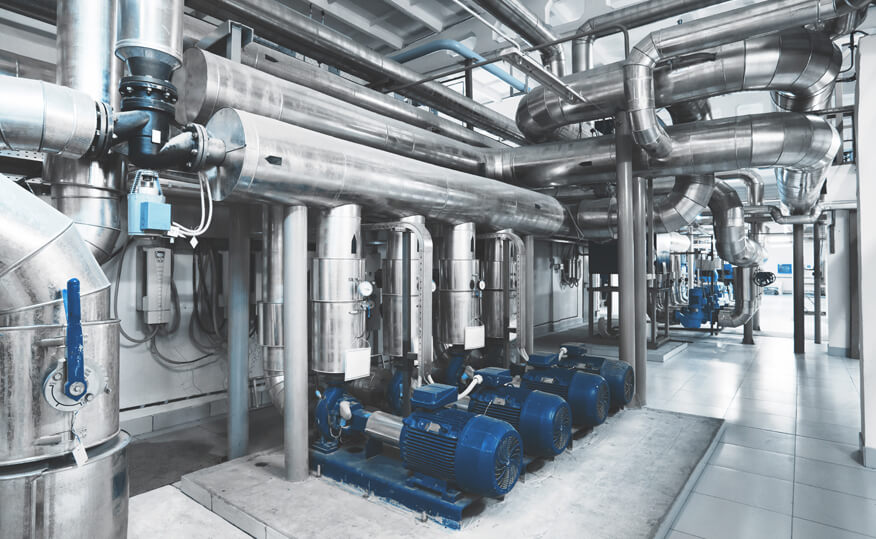
Before the new system is installed, your ductwork will be inspected to ensure it’s in good condition. Any necessary repairs or adjustments will be made to optimize airflow and ensure your system runs efficiently. If ductwork needs to be expanded or adjusted, the technicians will handle that during this phase.
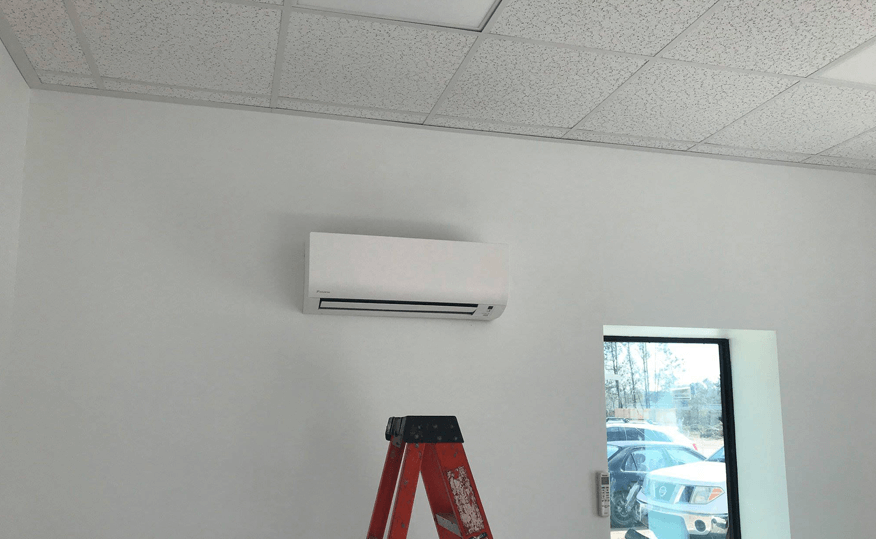
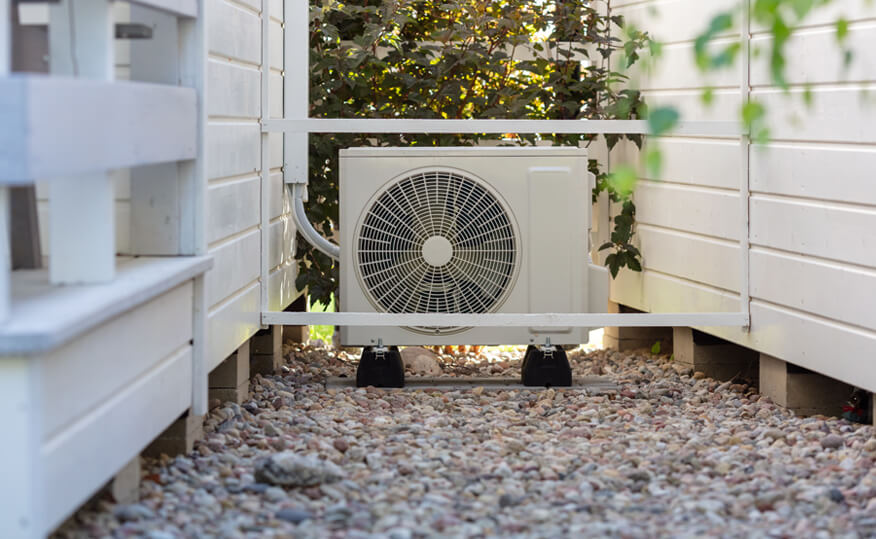
If you’re installing a ductless system, this step is skipped, and the focus shifts to placing indoor and outdoor units in the most efficient locations.
4. Installing the New HVAC System
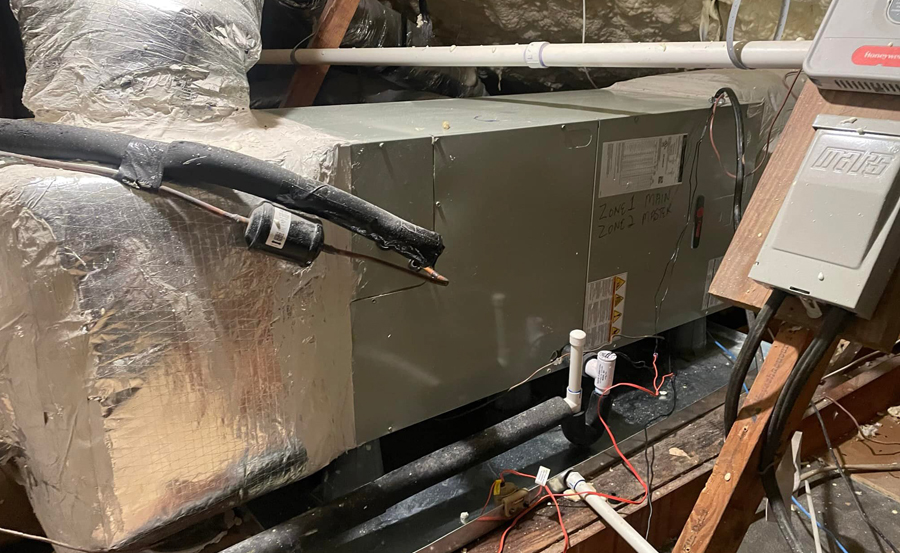
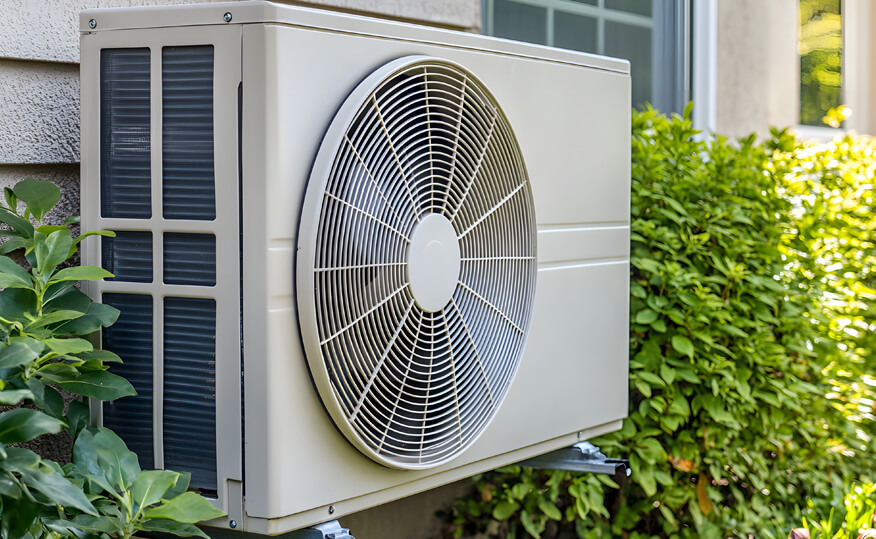
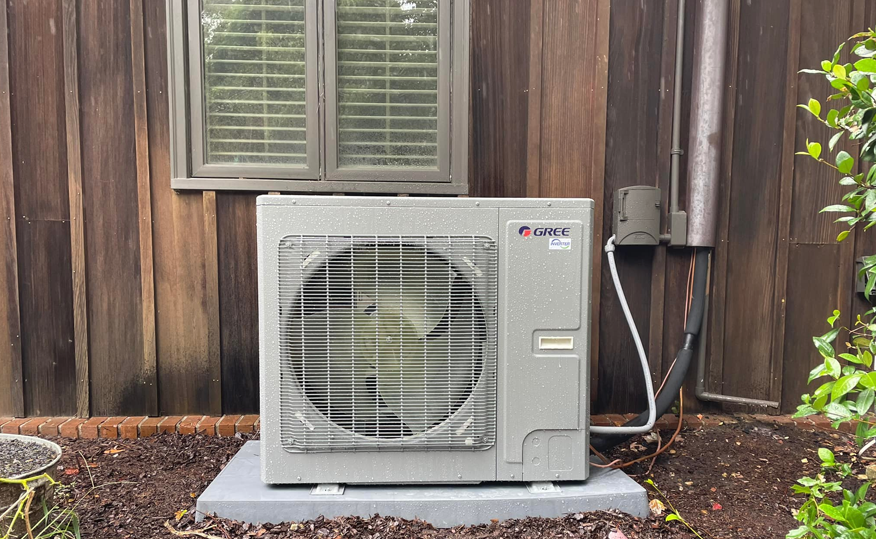
The core part of the installation involves setting up the main components of your new HVAC system, whether it’s a furnace, air handler, heat pump, or AC unit. Technicians will also connect the system to your home’s electrical and plumbing as needed. This ensures everything runs smoothly, efficiently, and meets local safety codes.
5. Thermostat Installation and Setup
A new system often comes with an upgraded thermostat, especially if you’re opting for a smart or programmable option. The technician will install and configure the thermostat for optimal use, making sure it’s in a central location to avoid drafts or direct sunlight, which can affect its readings. You’ll also get a quick lesson on how to use it and set up schedules if needed.
6. System Testing and Calibration
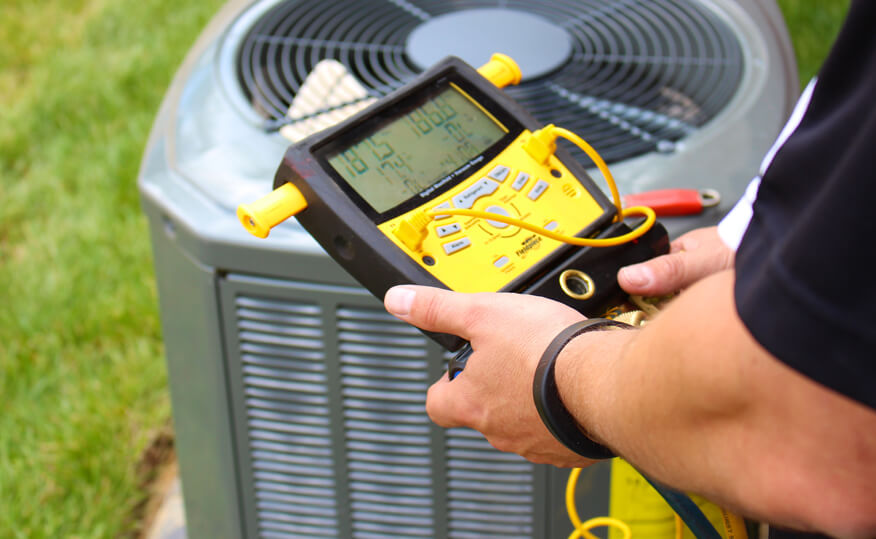
Once the system is in place, the technicians will test everything to ensure it’s working correctly. This includes checking for proper airflow, refrigerant levels, and making sure your system runs efficiently. If any fine-tuning is required, such as adjusting airflow between rooms, they’ll handle it here.
7. Final Walkthrough and Cleanup
After everything is up and running, the team will walk you through your new heating and cooling system. They’ll explain how to adjust settings, maintain the system, and maximize energy efficiency. You’ll also receive any warranties or paperwork you need for future reference. Finally, the technicians will clean up all debris, old equipment, and installation materials, leaving your space neat and ready to enjoy your new comfort system.
Trust Prestige Heating and Air for Your Charleston HVAC Installation
A professional HVAC installation shouldn’t be stressful, and knowing what to expect ensures the process is as smooth as possible. From the removal of old equipment to final testing, you’ll have a new, energy-efficient system ready to keep your home or business comfortable for years to come.
If you’re ready to install a new heating and air conditioning system or have any questions regarding HVAC installation costs, reach out to Prestige Heating and Air today, and we’ll be happy to help!
